

Buy a Local Control Smart Hub: 2026 Buyer's Guide
Table of Contents
- What a Local Control Smart Hub Actually Does
- Why Local Control Beats Cloud Dependency
- Smart Home Data Security: What Stays in Your House
- Zigbee vs Z-Wave Local Control: Which Protocol Suits You?
- Home Assistant UK: Pairing a Hub with Your Chosen Platform
-
How to Set Up a Local Control Smart Hub in Six Steps
- Step 1: Place the Hub Centrally [Time: 5 minutes]
- Step 2: Connect It to Your Network [Time: 5 minutes]
- Step 3: Update the Firmware [Time: 10 minutes]
- Step 4: Pair Your Devices [Time: 15 minutes]
- Step 5: Build Your First Automation [Time: 5 minutes]
- Step 6: Test Without the Internet [Time: 5 minutes]
- Common Mistakes When You Buy a Local Control Smart Hub
- Frequently Asked Questions
Last Updated: September 16, 2026
What a Local Control Smart Hub Actually Does
A local control smart hub is a device that runs your smart home automations on hardware inside your home rather than on a manufacturer's server. When you buy a local control smart hub, you keep the decision-making on your own network, so lights, sensors and heating respond even when your broadband drops.
That distinction matters more than most buyers realise. At DigIoT, we see plenty of people replace a perfectly good hub because they blamed the hardware for what was really a cloud outage.
The hub itself is the translator and the referee. It speaks the wireless languages your devices use, holds the automation rules, and decides what happens when a sensor triggers. With local processing, that decision happens in milliseconds on your kitchen worktop, not after a round trip to a data centre.
Ofcom's Connected Nations report on home broadband reliability shows that home connections still suffer interruptions, which is exactly when a cloud-dependent setup falls over.
Why Local Control Beats Cloud Dependency
Cloud dependency means your automations stop when someone else's server does. That is the core trade-off, and it is why reliability is the strongest argument for local processing.
Three things change when automations run on-site:
- Speed. Motion triggers a light in a fraction of a second rather than after a network round trip.
- Continuity. Your routines keep running during a broadband outage or a manufacturer's maintenance window.
- Longevity. A hub that does not need a vendor's servers keeps working if that vendor changes direction.
The counterargument is remote access. Cloud platforms let you check cameras from a hotel. Local hubs handle this too, usually by letting you reach your own network securely, but the everyday automations never depend on it.
Smart Home Data Security: What Stays in Your House
Smart home data security improves when sensor readings, schedules and presence patterns never leave your network. A local hub stores that history on the device itself, so there is no third-party database holding a record of when you are home.
The practical question is what a device sends when it phones home. Some sensors report state changes to a cloud service by design. Others work entirely over your local network once paired. The difference is set by the device, not the hub, so it pays to check before buying.
Under the UK General Data Protection Regulation and the Data Protection Act 2018, you have rights over personal data a company holds about you. Local processing sidesteps much of that conversation because there is far less data to hold.
A useful habit: keep cloud-dependent devices for low-stakes jobs like a video doorbell, and put anything that reveals occupancy onto local hardware.
Zigbee vs Z-Wave Local Control: Which Protocol Suits You?
Zigbee and Z-Wave both build a mesh network where each mains-powered device strengthens the signal for its neighbours. Neither needs your WiFi, and both run locally once paired to a hub.
The differences that actually affect a purchase:
| Factor | Zigbee | Z-Wave |
|---|---|---|
| Typical range per hop | Around 10-20 metres indoors | Around 30 metres indoors |
| Interference risk | Shares 2.4GHz with WiFi | Uses sub-GHz band |
| Device range | Very broad, many brands | Broad, strong on security kit |
| Hub requirement | Needs a Zigbee coordinator | Needs a Z-Wave radio |
Zigbee wins on choice and price. Z-Wave wins on range and on staying clear of a congested 2.4GHz band. If your home is thick-walled or your WiFi is already crowded, Z-Wave tends to behave better.
The good news: you do not have to choose. Multi-protocol hubs from DigIoT carry both radios alongside Matter and Thread, so a single box covers every device you own. The Connectivity Standards Alliance on Matter explains how Matter is designed to sit above these protocols rather than replace them.
Home Assistant UK: Pairing a Hub with Your Chosen Platform
Home Assistant is the open-source platform many UK users pair with a local hub, and it works best when the hub exposes your devices cleanly rather than locking them into an app.
Two routes work well. You can run Home Assistant on your own hardware and add a hub as a radio bridge, or you can use a hub that already speaks Home Assistant natively and skip the extra layer. The second is simpler and is what most people actually want.
For a Home Assistant UK setup, check three things before you buy:
- Does the hub expose devices locally, without requiring a cloud account?
- Is there a maintained integration, not an abandoned community plugin?
- Can you back up your configuration and move it to new hardware later?
How to Set Up a Local Control Smart Hub in Six Steps
Set-up takes about 45 minutes for a hub and a handful of devices. Difficulty: beginner. You will need your hub, its power adaptor, your home WiFi password, and the app for your chosen platform.
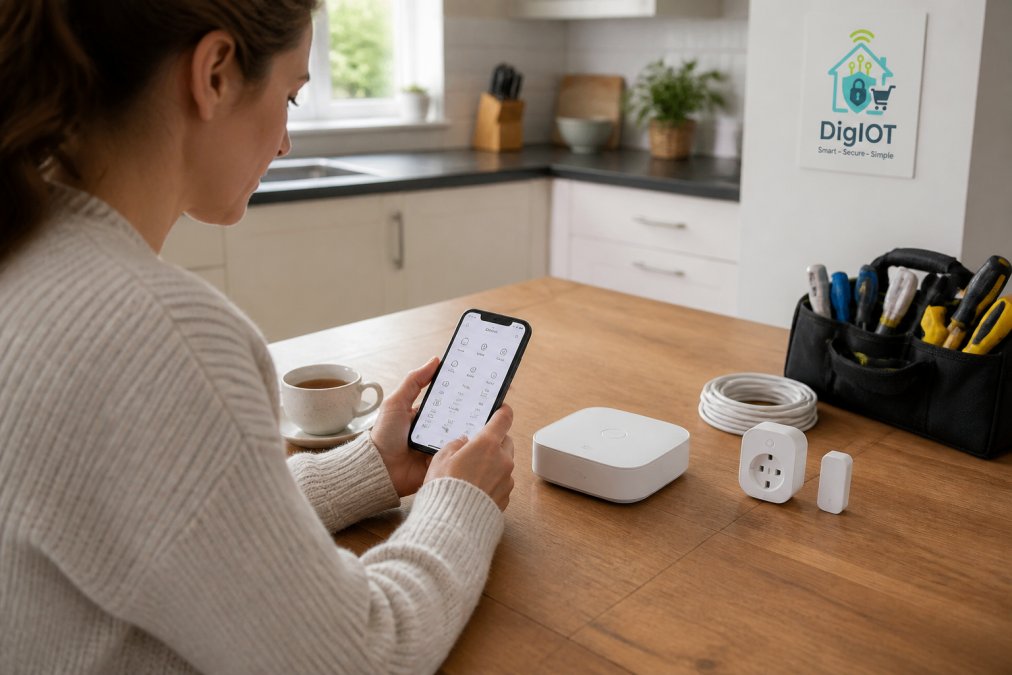
Step 1: Place the Hub Centrally [Time: 5 minutes]
Put the hub somewhere central and elevated, away from your router and any metal. Mesh radios work best with a clear path to the rest of the house.
Homey Pro WiFi & Bluetooth Smart-Home →
Expected result: The hub powers on and its indicator light shows it is ready to pair.
Step 2: Connect It to Your Network [Time: 5 minutes]
Open the app, create your account, and let it find the hub on your network. Use the 2.4GHz band if your router splits them.
Expected result: The hub appears in the app as online.
Step 3: Update the Firmware [Time: 10 minutes]
Do this before pairing anything. Updates occasionally change how devices join, and starting current saves a re-pair later.
Expected result: The app reports the latest firmware version.
Step 4: Pair Your Devices [Time: 15 minutes]
Add devices one at a time, starting with the ones nearest the hub. Name each one as you go, using room-based names like "Kitchen ceiling" rather than "Light 3".
Expected result: Each device appears in the app and responds to a manual toggle.
Step 5: Build Your First Automation [Time: 5 minutes]
Start with one rule: a motion sensor turning on a light, or a door sensor triggering a notification. Keep it simple and confirm it fires.
Expected result: The automation runs when you trigger the sensor.
Step 6: Test Without the Internet [Time: 5 minutes]
Disconnect your router from the internet, leaving the local network up, and trigger your automation. If it still runs, your local control is working.
Expected result: The automation fires with no internet connection.
Common Mistakes When You Buy a Local Control Smart Hub
Buying on protocol count alone is the mistake we see most often. A hub that lists six radios is useless if the devices you already own are not on the compatibility list.
Other traps worth avoiding:
- Assuming every device works locally. Some pair locally but still report to a cloud service. Check the device, not just the hub.
- Ignoring the radio your existing kit uses. If your sensors are Zigbee, a Z-Wave-only hub means starting again.
- Buying for today's device count. A hub with a low device limit becomes a bottleneck the moment you add sensors.
- Skipping the return window test. Pair everything you own in the first fortnight, while you can still send it back.
Where the topic is new to you, the honest answer is that curation beats specification sheets. A hub that works with what you already own will always outperform a more capable one that does not.
Most smart home frustration traces back to a hub that depends on someone else's server, and the fix is a device that keeps the thinking in your home.
Frequently Asked Questions
Does a local smart hub still work when the internet goes down?
Yes, for automations that run on the hub itself. A local control smart hub such as the Homey Pro processes flows on the device, so lights, sensors and routines keep responding during an outage. You will lose remote access from outside the house and any cloud-only features, but the core system carries on. This is the main practical difference between local and cloud-based hubs.
Which smart home hubs support Home Assistant?
Several hubs work alongside Home Assistant, including the Homey Pro, Homey Pro Mini and Aqara Hub M3. Each integrates through its own app or a Home Assistant integration, so you can keep Home Assistant as your main dashboard while the hub handles Zigbee, Thread or Z-Wave devices. Check the hub's listing for supported platforms before you buy, as firmware updates occasionally change what is supported.
Is Zigbee or Z-Wave better for local control in a UK home?
Both run locally and both work well. Zigbee devices are usually cheaper and more widely available, while Z-Wave operates on the 868 MHz band in the UK, which avoids Wi-Fi congestion. If you want one hub that covers both, the Homey Pro supports Zigbee 3.0, Z-Wave Long Range, Thread, Matter, Wi-Fi and Bluetooth, so you are not forced to pick a side.
How can I be sure my smart home data is not being sent to a cloud server?
Look for hubs that state local processing in their specifications, such as the Homey Pro, which runs automations on the device with no cloud dependency, or the Aqara Hub M3, which processes automations locally. You can also check your router's traffic logs to see what a hub contacts. Choosing Matter and Thread devices reduces the number of separate apps and accounts holding your data.